As most of you know, my life gets pretty hectic, which often limits the amount of nail art I can do. I’m also a little impatient, so easy is always better for me! Tonight I have an easy Spring dotticure with Julie G polishes I’ll be sharing with you!
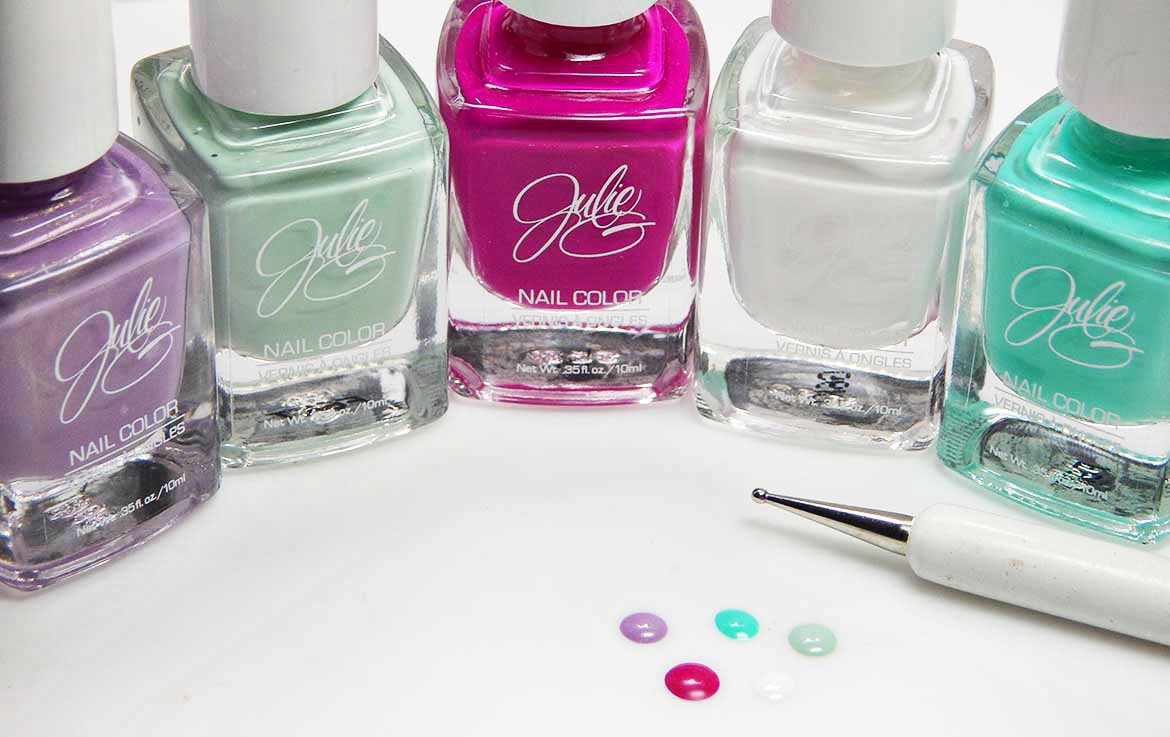
To set up, I will be using 6 Julie G nail polishes and a dotting tool. It’s fairly easy, not at all messy and dresses up your nails for the new season!
All 6 of these shades are available on the Jesse’s Girl website, and you can use my affiliate code CS2017JG to receive 20% off any of the shades you purchase through the site. The code is also good for any cosmetics you might be eyeing (I recommend the Glow Stix Lip Gloss while you are there!)
Ok, onto the nail art!
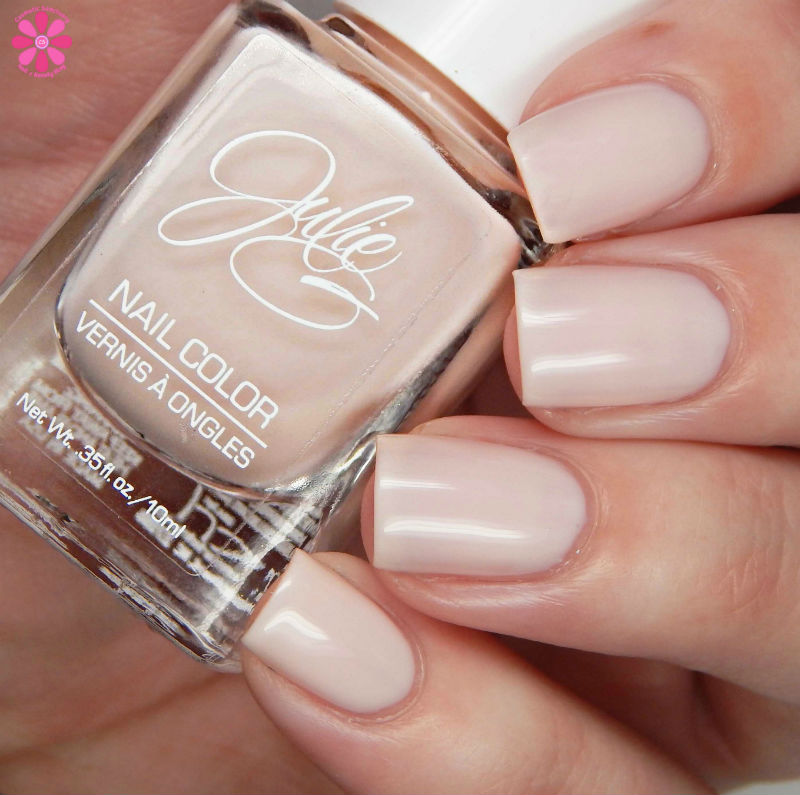
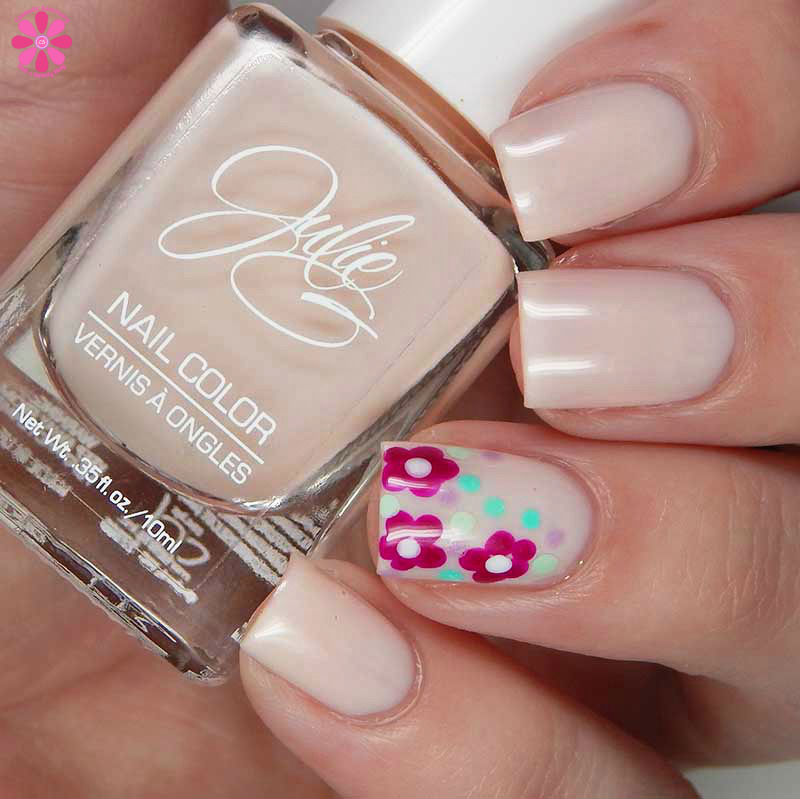
I started off with a base of Love Potion which is a nice, neutral backdrop so the flowers and dots will be more of the focus and it will help them pop a bit. Love Potion in particular works really well with my skin tone and I used 2 coats and Julie G Jet Set Quick-Dry to top it.
Once fully dry – it’s time for the dots!

I used a white acrylic board to lay out some wet polish for my dotting tool. If you don’t have a board like this, a zip lock baggie works just as well.

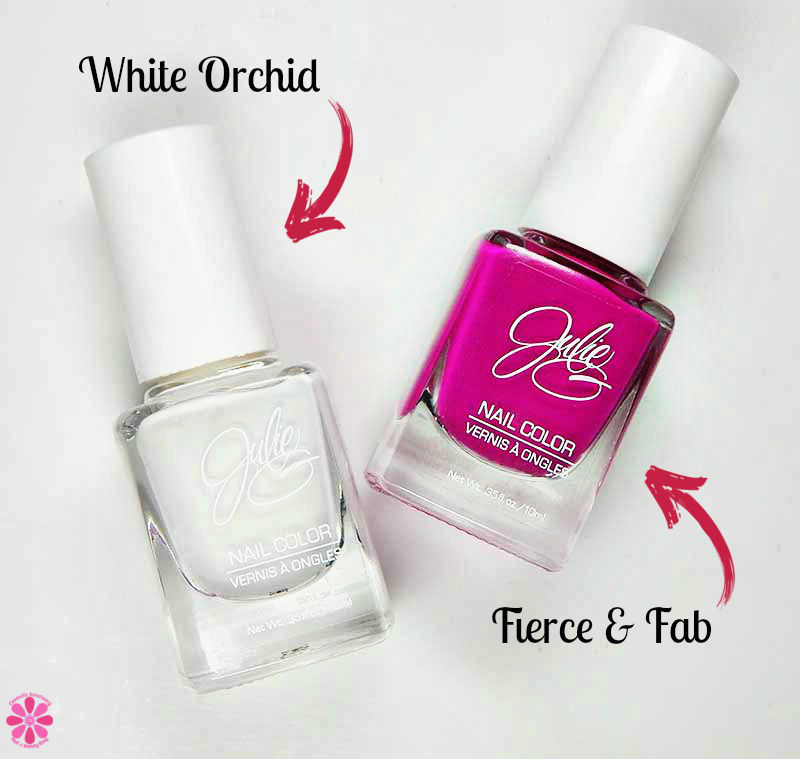
For the flowers, I’ll be using Fierce & Fab for the petals and White Orchid for the flower centers.

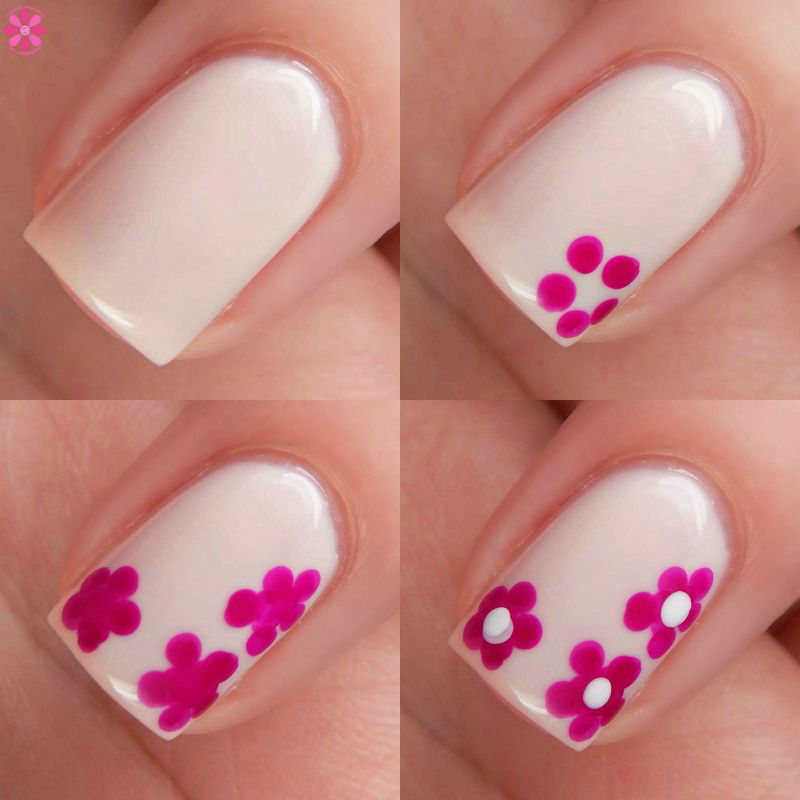
I start off making 5 dots of Fierce & Fab for the petals. Once I get the base dots down, I color the areas in a bit to “connect” them so there isn’t so much spacing.
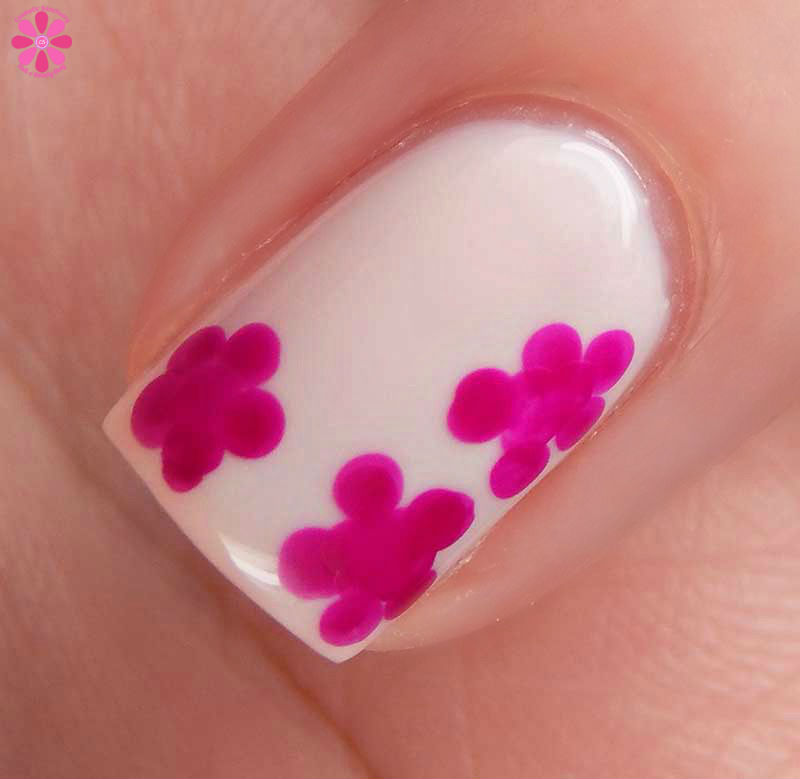
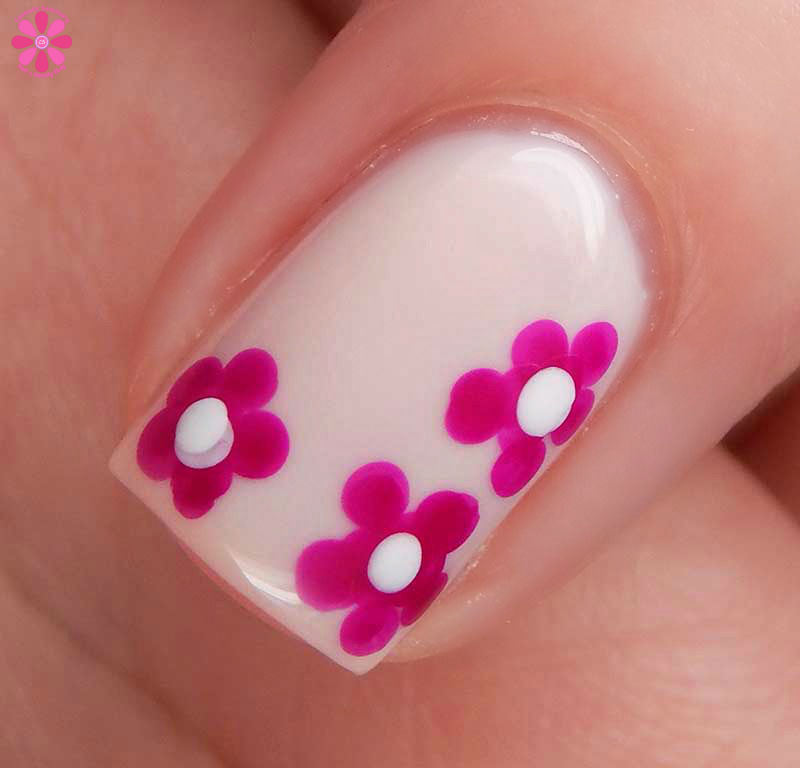
I am only making 3 flowers, so I did 3 sets of 5 dots and added White Orchid in for the center.
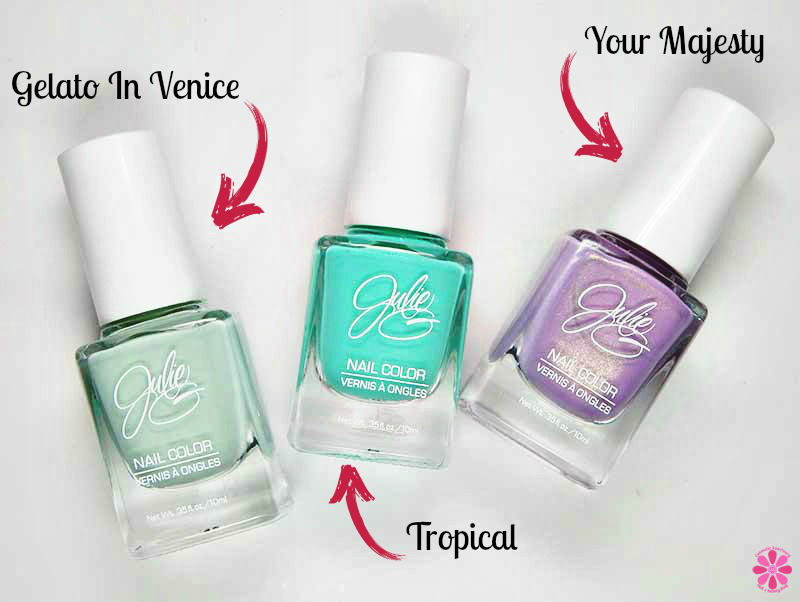
Next I’ll be using Gelato In Venice, Tropical and Your Majesty as the random dots to dress it up a little more and to add a little more Spring color into the mix!
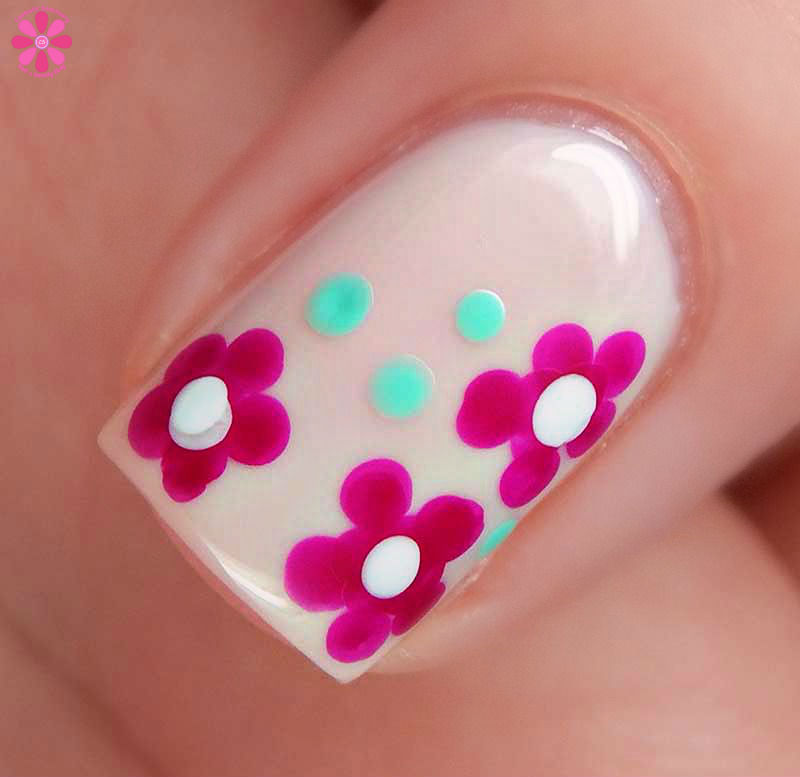
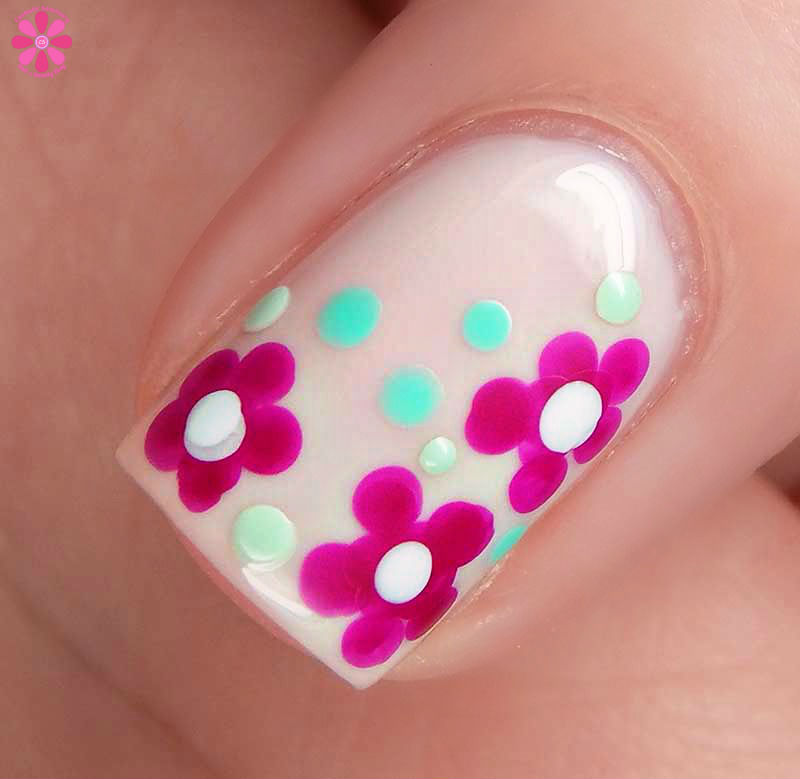
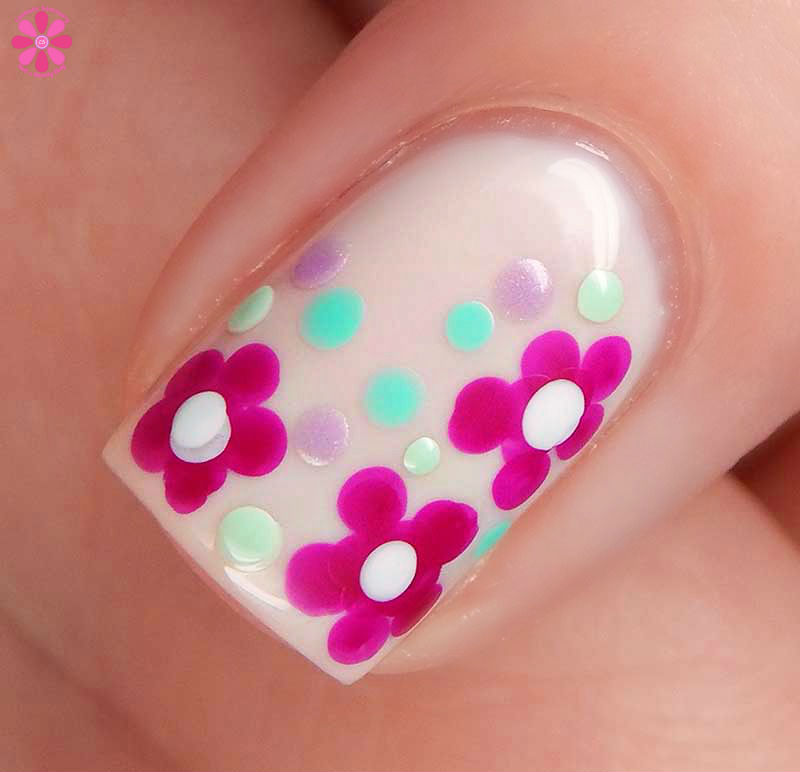
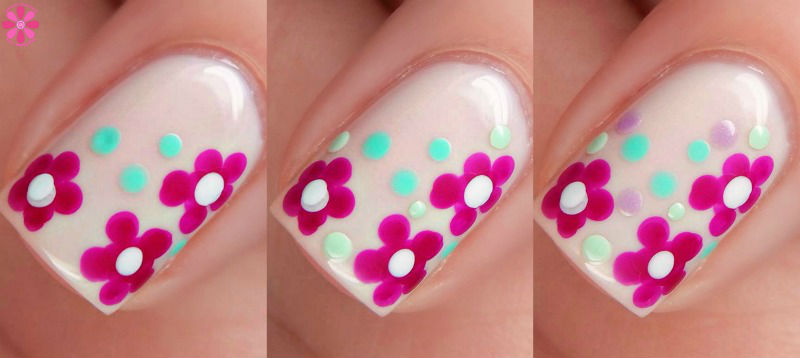
I just pick a color and make random dots around the flowers. Once I have enough, I let dry and then top coat. Top coating too soon can cause the dots to smear (trust me… I’ve done it a lot)
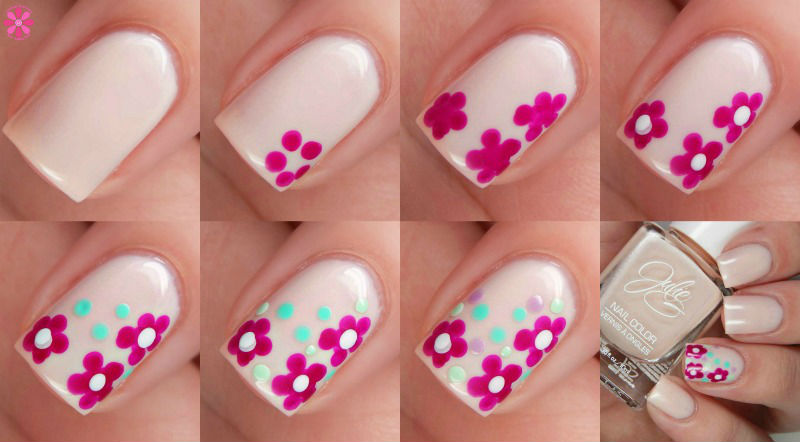
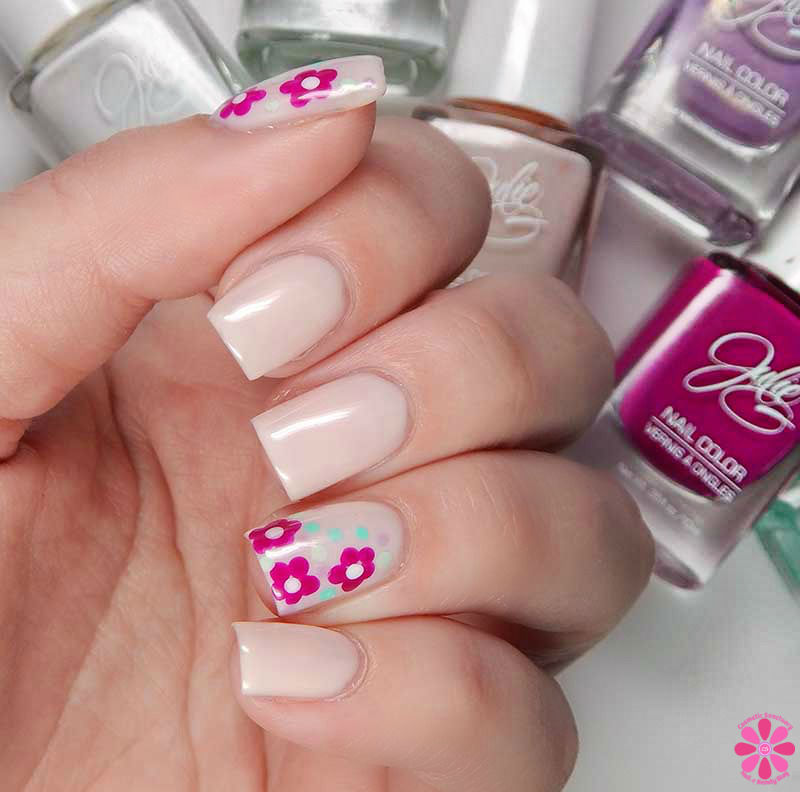
I chose to do this on just 2 fingers, my thumb and my ring finger. The rest I left with just Love Potion so my nails weren’t too busy – but if you like a lot of color, feel free to do the design on all nails!
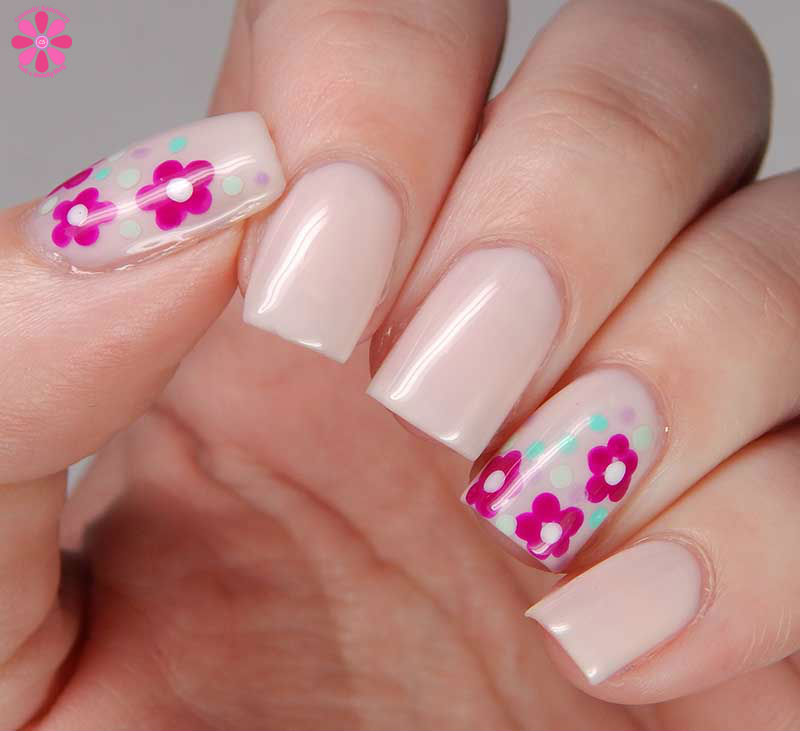
This whole look from start to finish (with dry times included!) took about 30 minutes. It’s the main reason I like doing dotticures is that it isn’t a time consuming process and you can still be creative color wise with it.
Each Julie G polish I used in this post can be found online in the Jesse’s Girl shop for only $3.99 a piece. As I mentioned before, you can also use my 20% off code ( CS2017JG ) which brings the price down to about $3.19 each.
Will you be dressing up your nails this Spring?

18 comments
so sweet!
I also struggle with nail, it is very time consuming and with kids/life it gets hard! Your nail art came out nice.
So absolutely adorable! Love the shades too. I’ll try it when my nails grow back
I love this delicate and pretty dotticure. Perfect for spring.
Perfect for Spring!
A very cute manicure for Spring! Love the colours you chose.
This is so easy and cute!
Your nail art is super perfect for Easter
So cute, I love it!
I love this – very easy and very pretty!
How cute! I need to find my dotting tool since I’d love to do this at the end of a manicure (just in case it didn’t turn out). I love that lilac shade.
Such a cute and easy nail art design!
Those colors are gorgeous!!! I especially like your base color, the fuchsia and the turquoise. I love what you did with them.
This is absolutely adorable! I love it! Never tried Julie.
Totally obsessed with this nail art idea! It looks gorgeous, and I love that it isn’t too hard to replicate. Thanks for the tutorial!
These are so cute!! I love it!
Very pretty dotticure. Thanks for sharing.
[…] is one of my favorite Julie G shades. You recently saw it in a Spring nail art look I did […]
Comments are closed.